Single Sign-On
A single sign-on occurs when a user logs into your website and then can sign on to other websites or applications automatically through a single platform, regardless of the technology or domain, the user is using. The user signs in only one time and hence the name of the feature is single sign-on.
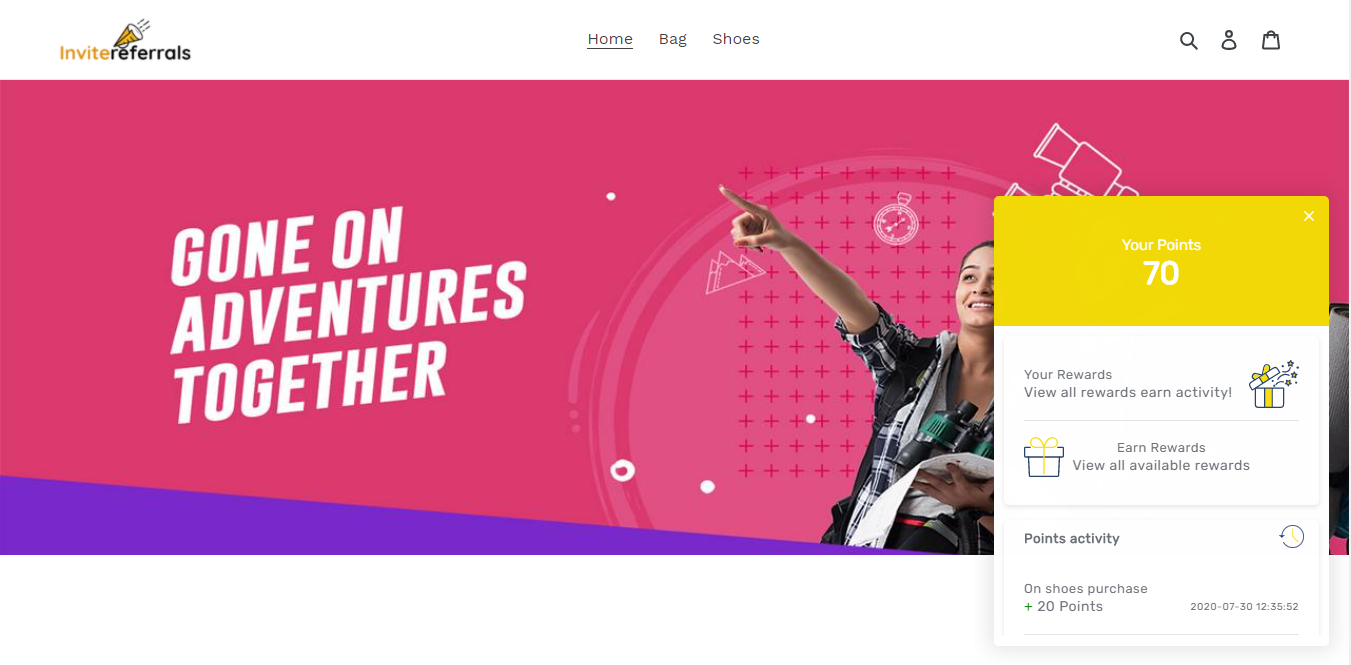
For example: Suppose users come on your site and login, then they will be automatically logged in to the InviteReferrals loyalty program campaigns which you created to reward the customers. They can view the points they earned and the points available to them in the site widget as shown below.

Single Sign-On can provide a seamless experience to the users while using your applications and services. Users can log in once and access the full suite instead of using separate credentials.
You can create a single-sign-on manually to enable users to use the functionality seamlessly. In the context of Shopify and WordPress sites, you don't need to set up SSO manually, we provide SSO feature by default. But if you want to use SSO on your custom website you need to set up it manually.
Create a Single Sign-On on your site for InviteReferrals:
In order to create a single-sign-on, you are required to create an SSO key first before you integrate with Invitereferrals.
How to create SSO key :
You have to create the MD5 encrypted combination of the secret key, user identifier(i.e. email or phone number) , and the right time on your site, all of them will be separated with ||.
sso_key = md5('TJGJ7576HFHGXXXXXXXX||[email protected]||1602594142);
$sso_key = md5($secretkey.'||'.$setUserEmail.'||'.$t);
Note:
- You have to pass the same User Identifier(i.e email or phone number) as configured in InviteReferrals profile settings.
- You can find your secret key in IR panel under Integration.
- MD5 is an encryption type that ensures data security.
How to pass SSO key in Javascript code of InviteReferrals :
Navigate to the IR dashboard> NotifyVisitors.com > Integration. Pass the SSO key into the JAVASCRIPT CODE as shown below.
Refer to the below Integration code for the SSO key integration :
<script>
   var ir = ir || function(){(window.ir.q = window.ir.q || []).push(arguments)};
   var invite_referrals = window.invite_referrals || {}; (function() {
       invite_referrals.auth = { bid_e :'3718141F76C27DB48D8XXXXXXXXX',
                                   bid : '30XXX',
                                   sso_key: '87sjfjajsfsaxxxxxxxxxxxx',
                                   rt = '1602594142' //current time string
                                   t : '420',
                                   email : '', userParams : {'fname': ''}};
                                   invite_referrals.async = false;
                                    var script = document.createElement('script');
   script.src = "//cdn.invitereferrals.com/js/invite-referrals-1.0.js";
   var entry = document.getElementsByTagName('script')[0];entry.parentNode.insertBefore(script, entry); })();
   </script>
Note:
In above example Dummy Brand ID and Encryption keys shown. Kindly login your IR_account to see your credentials.
How to check if the SSO key is integrated or not :
You can inspect the elements of the site to see whether the SSO key is integrated here or not as shown in the image below :
Refer to the below image to check the integration of the SSO key :

Once the SSO key is integrated on the site, the user can view all the details of the campaigns whenever he signs up on your site such as the referral points and other rewards available to him.

Once you verify the integration of the SSO key on your site, it implies the sign-on is created. Follow the above steps to create a single sign-on on your website.
Updated over 4 years ago
