Shopify
Integrate InviteReferrals App with Shopify
Shopify is an e-commerce platform that allows you to build your brand, foster community, and drive traffic to your website. As your customers are omnipresent, you are required to engage them at every channel to provide them a favorable experience. This is how you can leave a long-lasting impact on the users by engaging them. Also, you can host your entire business website on Shopify which is easy and hassle-free.
Follow below steps to integrate:
Install App
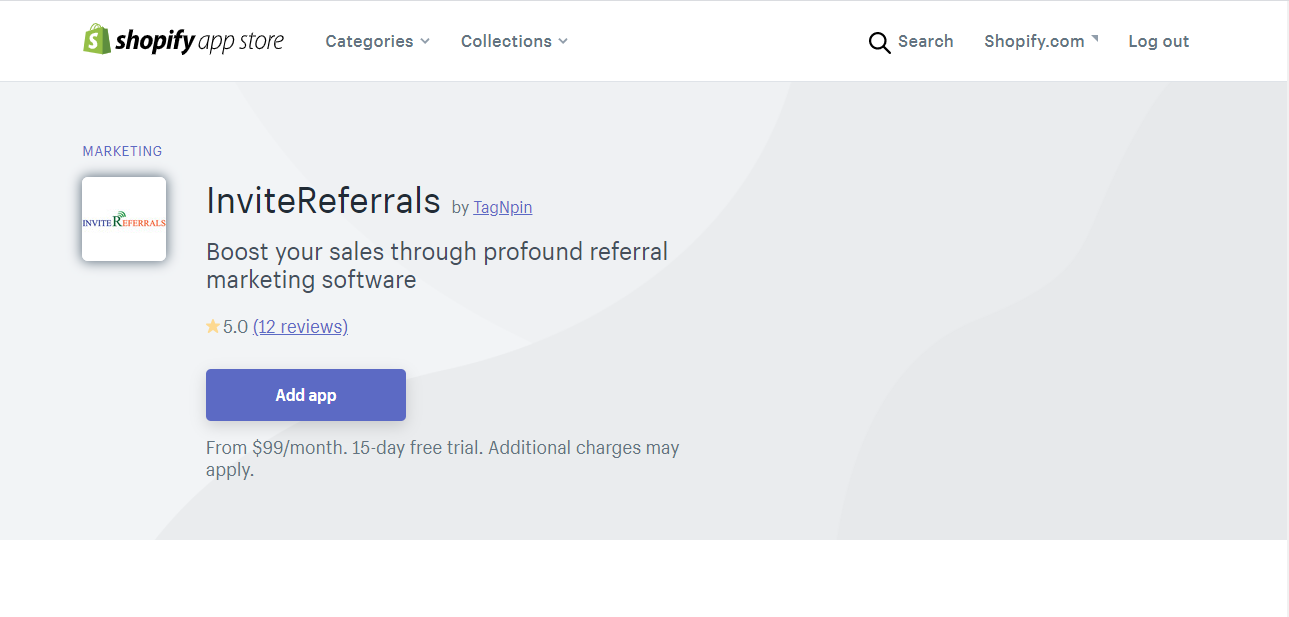
- Go to the Shopify App Store and add the InviteReferrals app to your shopify account.
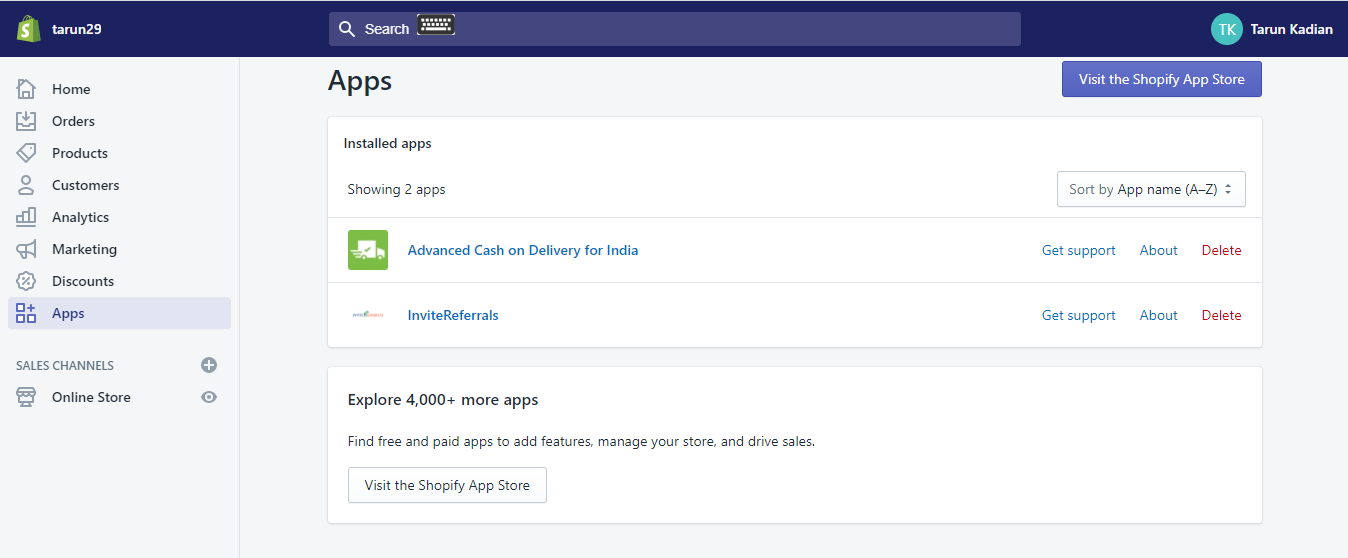
- Once app is added to shopify account, it can be seen in shopify apps.
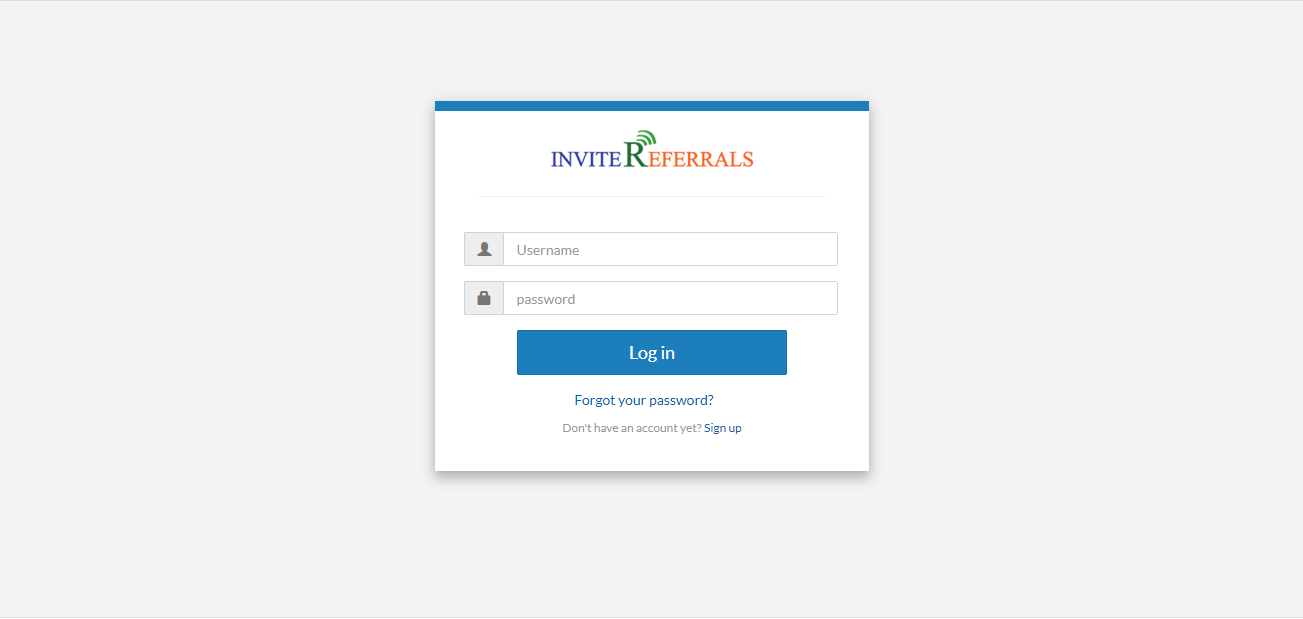
- Click on the InviteReferrals and login to the InviteReferrals account.
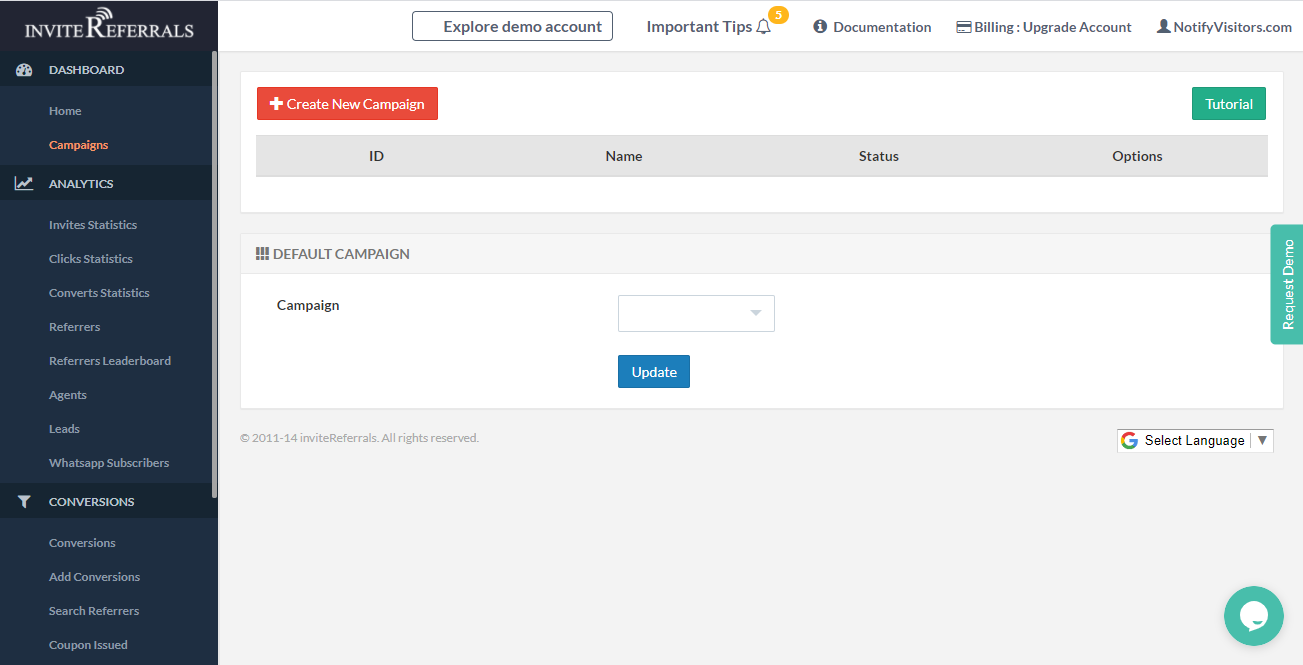
- Now click on the “Go to dashboard” button and you will be navigated to the IR dashboard.

Create Campaigns
- Once the integration process is done, you can now create the marketing campaigns through Campaigns to engage users and nudge them to refer their friends on your website.
Track Conversions:
Simply follow the undermentioned step-by-step procedure to track conversions through InviteReferrals:
- Navigate to your Shopify Account’s Dashboard > Customer events.
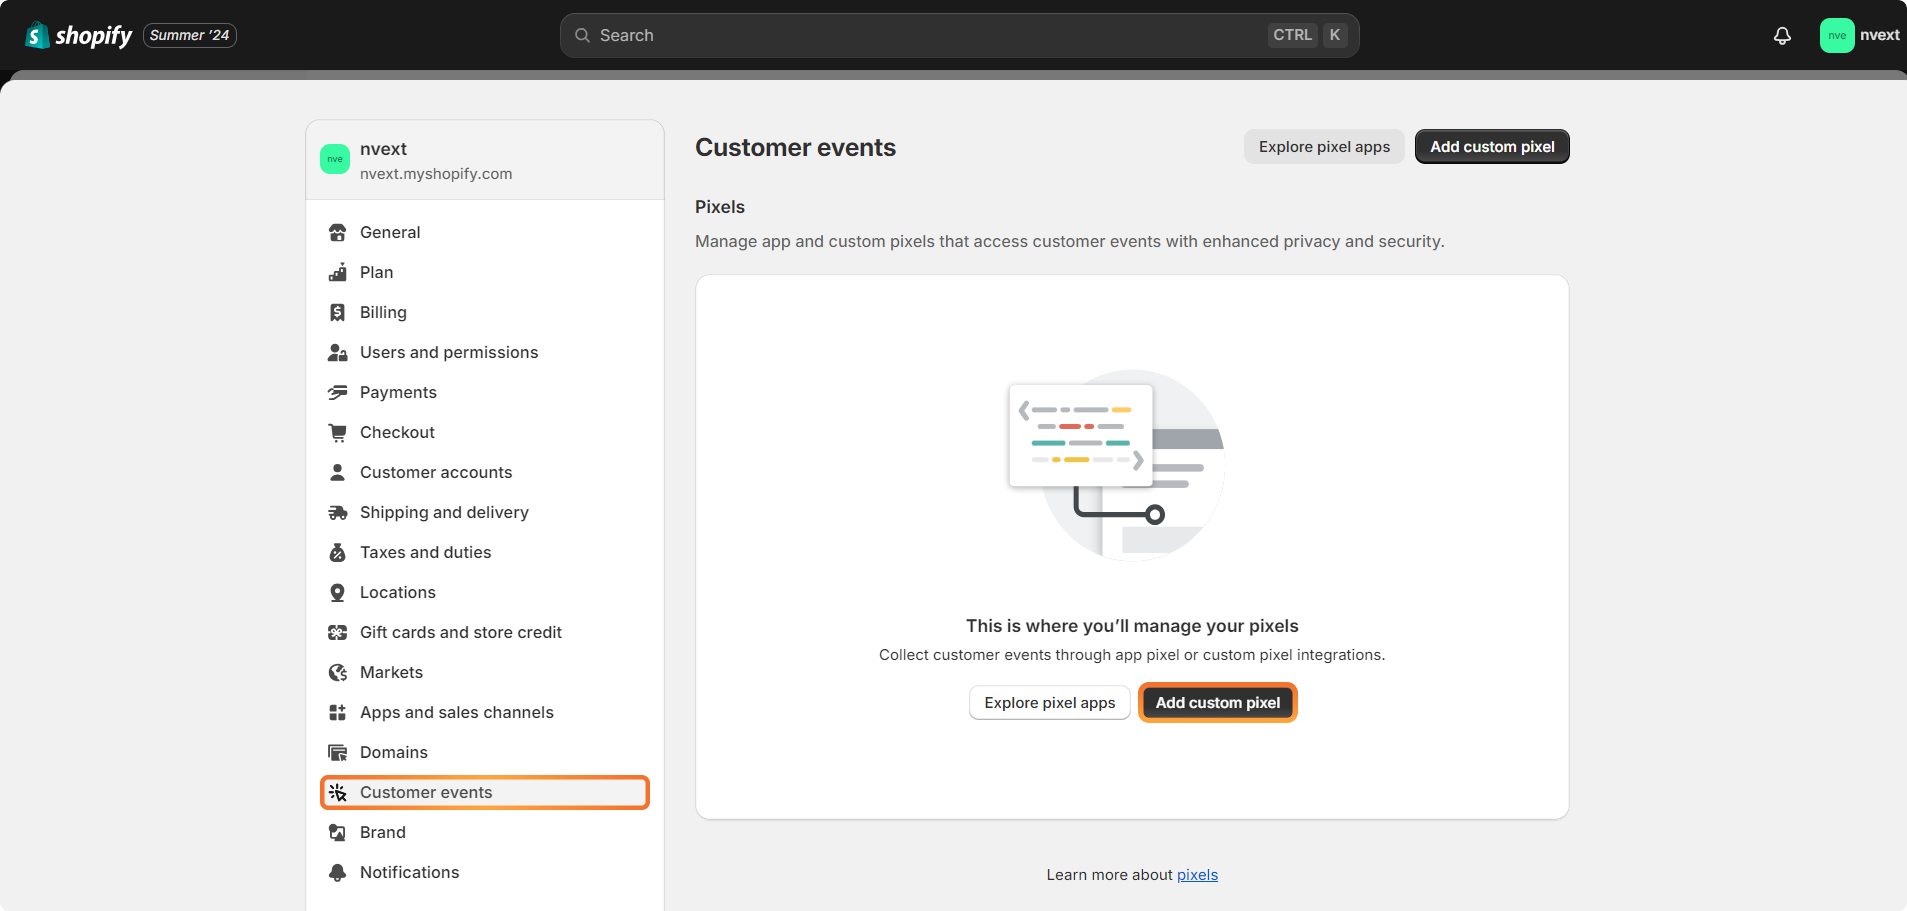
- Next, click on the button titled ‘Add custom pixel’.
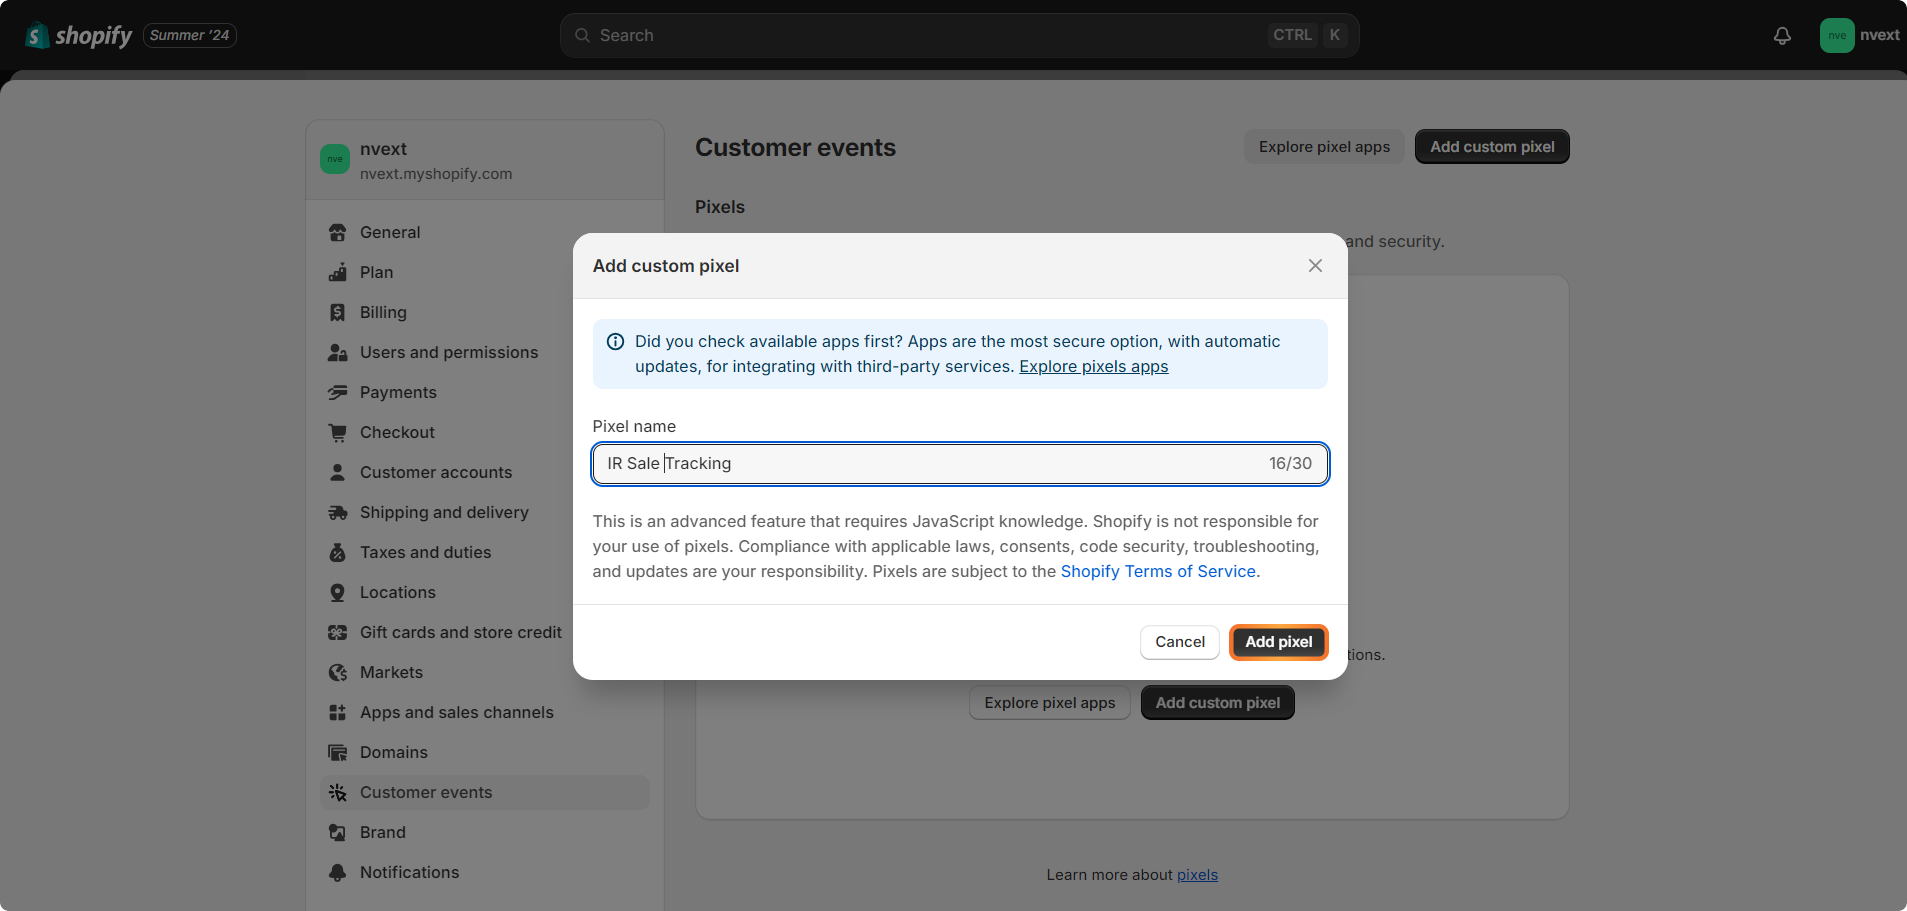
- In the pop-up that appears next, enter a name for the ‘custom pixel’ and then click on the button titled ‘Add pixel’.
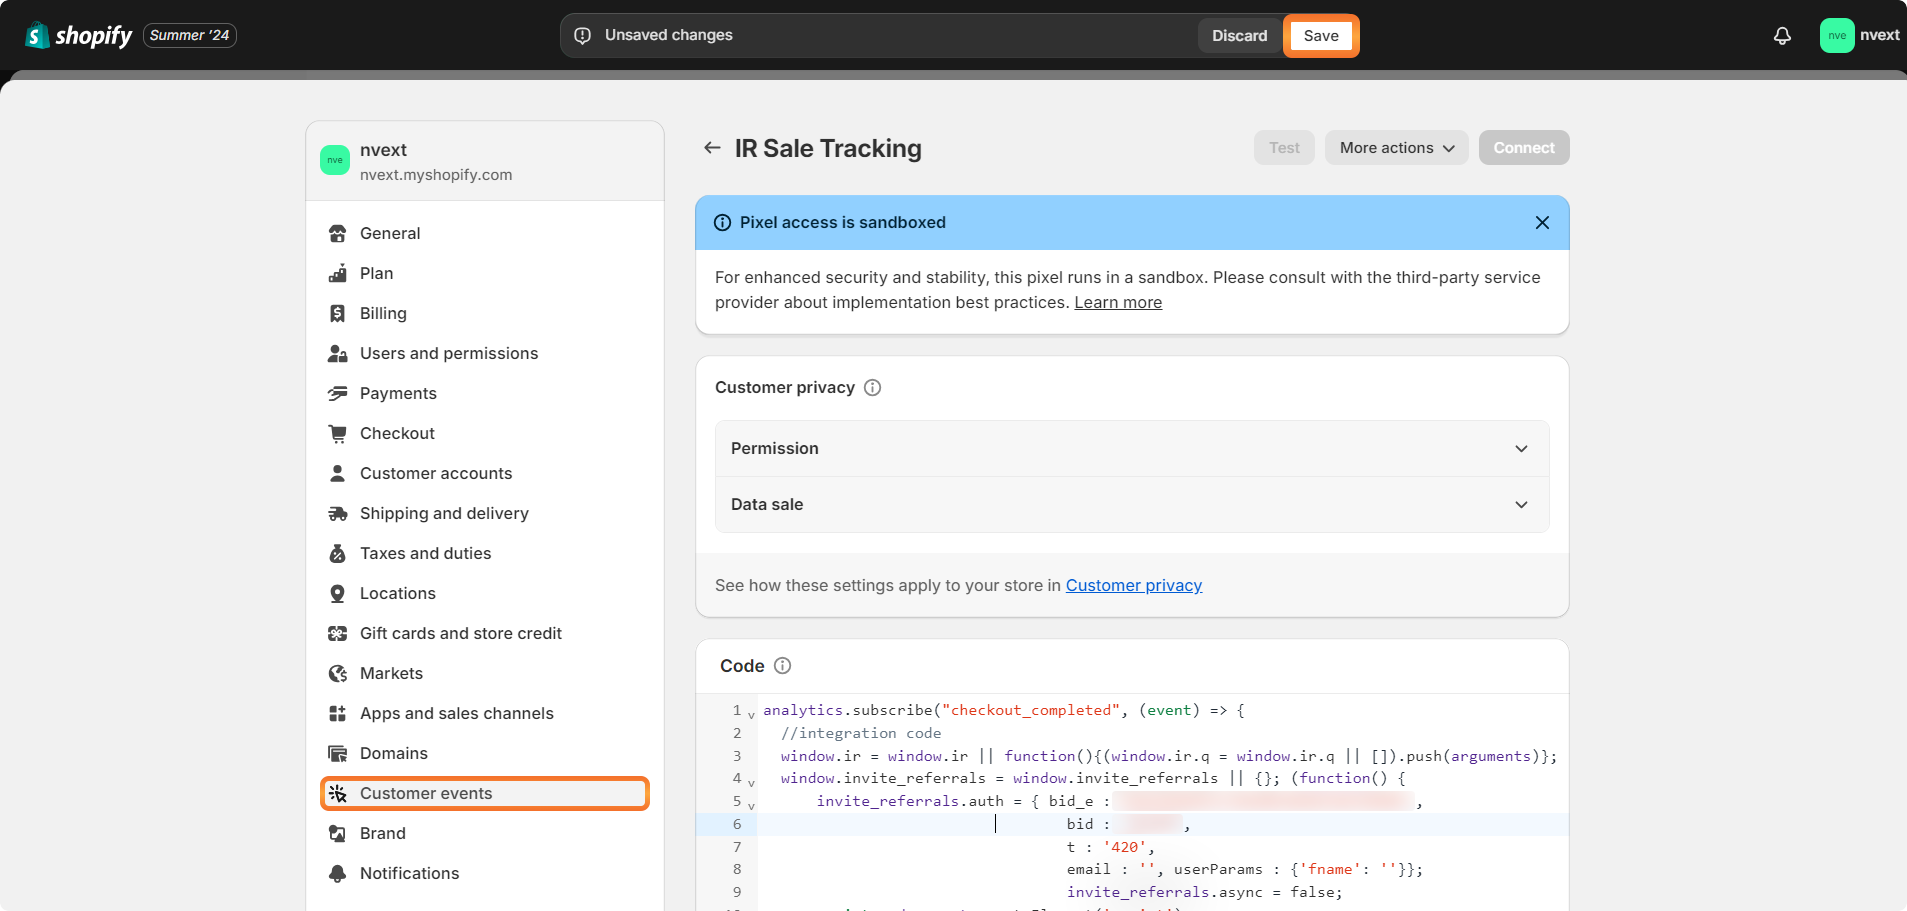
- Now, within the same ‘Customer events’ section, enter the ‘code’ provided below and then click on the ‘Save’ button.
Important Note
In the following ‘code’, ‘dummy values’ are mentioned for both the ‘Brand ID’ as well as the ‘Encryption Key’ i.e., the values of the two keys namely ‘bid’ and ‘bid_e’ aren’t genuine..
You will have to login to your InviteReferrals account and replace the ‘dummy values’ with ‘genuine ones’ within this ‘code’ before adding the same.
analytics.subscribe("checkout_completed", (event) => {
  //integration code
  window.ir = window.ir || function(){(window.ir.q = window.ir.q || []).push(arguments)};
  window.invite_referrals = window.invite_referrals || {}; (function() {
      invite_referrals.auth = { bid_e :'91B2A98**************************',
                                  bid : '21***',
                                  t : '420',
                                  email : '', userParams : {'fname': ''}};
                                  invite_referrals.async = false;
  var script = document.createElement('script');
  script.src = "//cdn.invitereferrals.com/js/invite-referrals-1.0.js";
  var entry = document.getElementsByTagName('script')[0];entry.parentNode.insertBefore(script, entry); })();

  //tracking code
  ir('track', { orderID: event.data?.checkout?.order?.id, event: 'sale', email: event.data?.checkout?.email, fname: event.data?.checkout?.billingAddress?.firstName, mobile: event.data?.checkout?.phone, purchaseValue: event.data?.checkout?.totalPrice?.amount } );
});
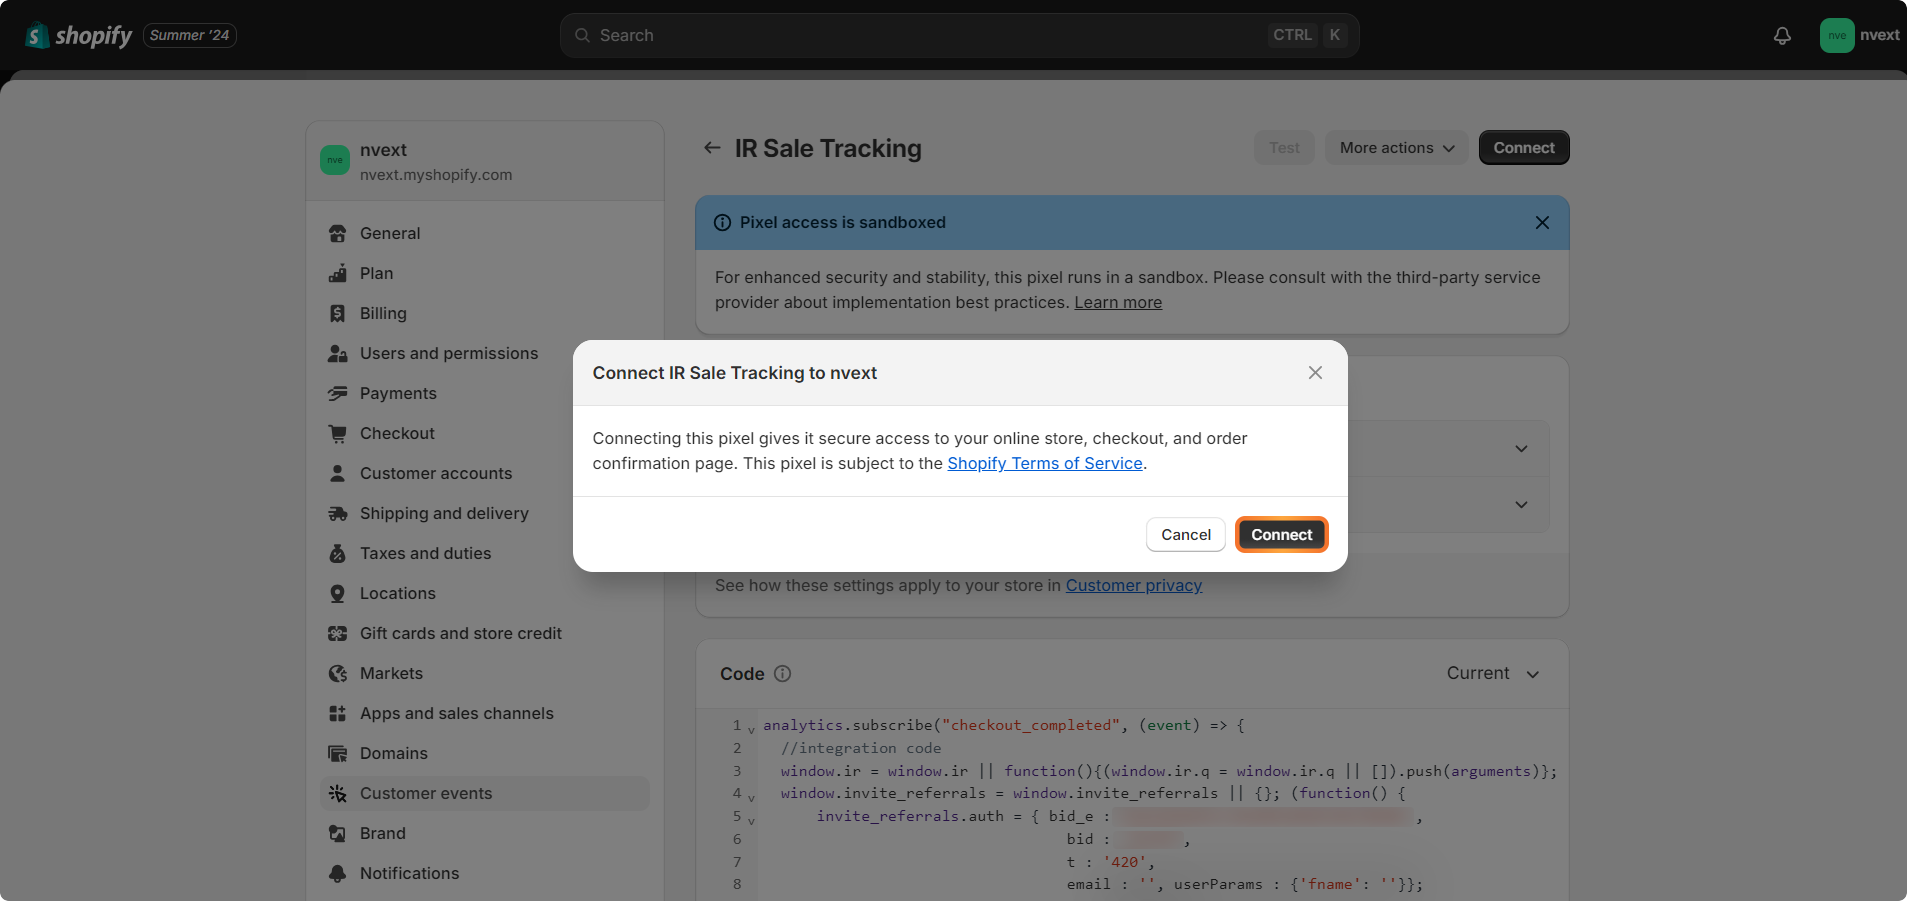
- Next, click on the ‘Connect’ button.
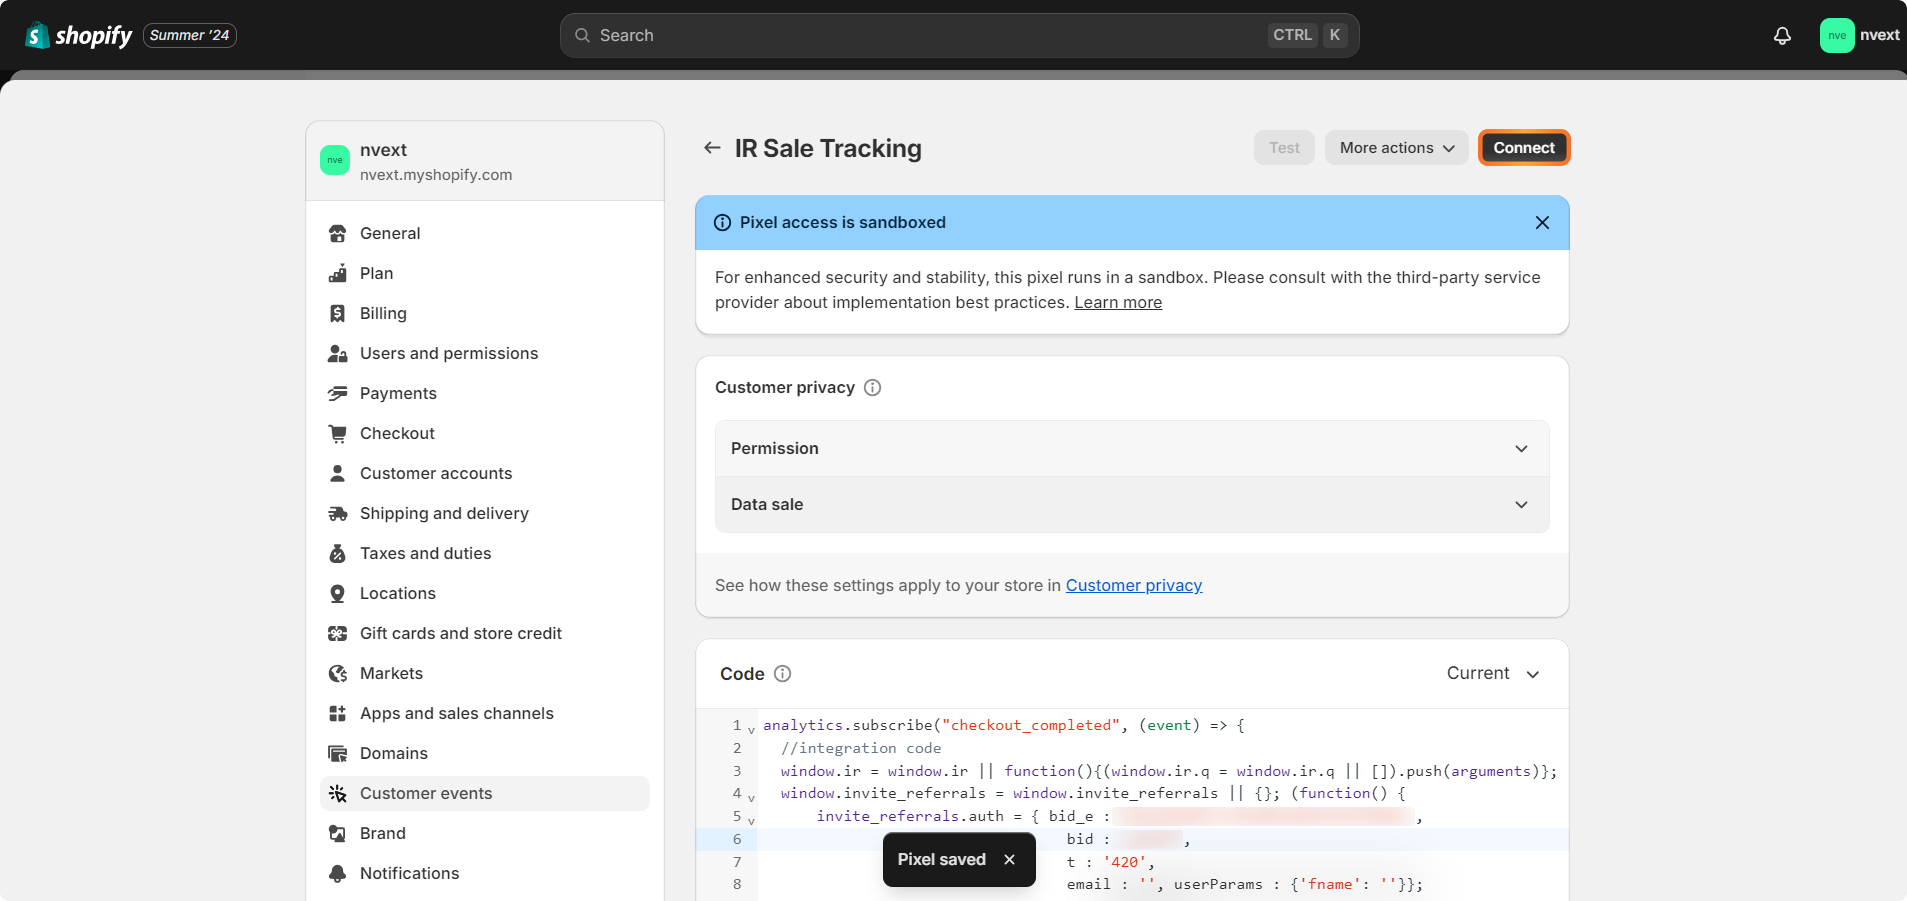
- Upon doing so a pop-up will appear on-screen. Click on the ‘Connect’ button present in that pop-up.
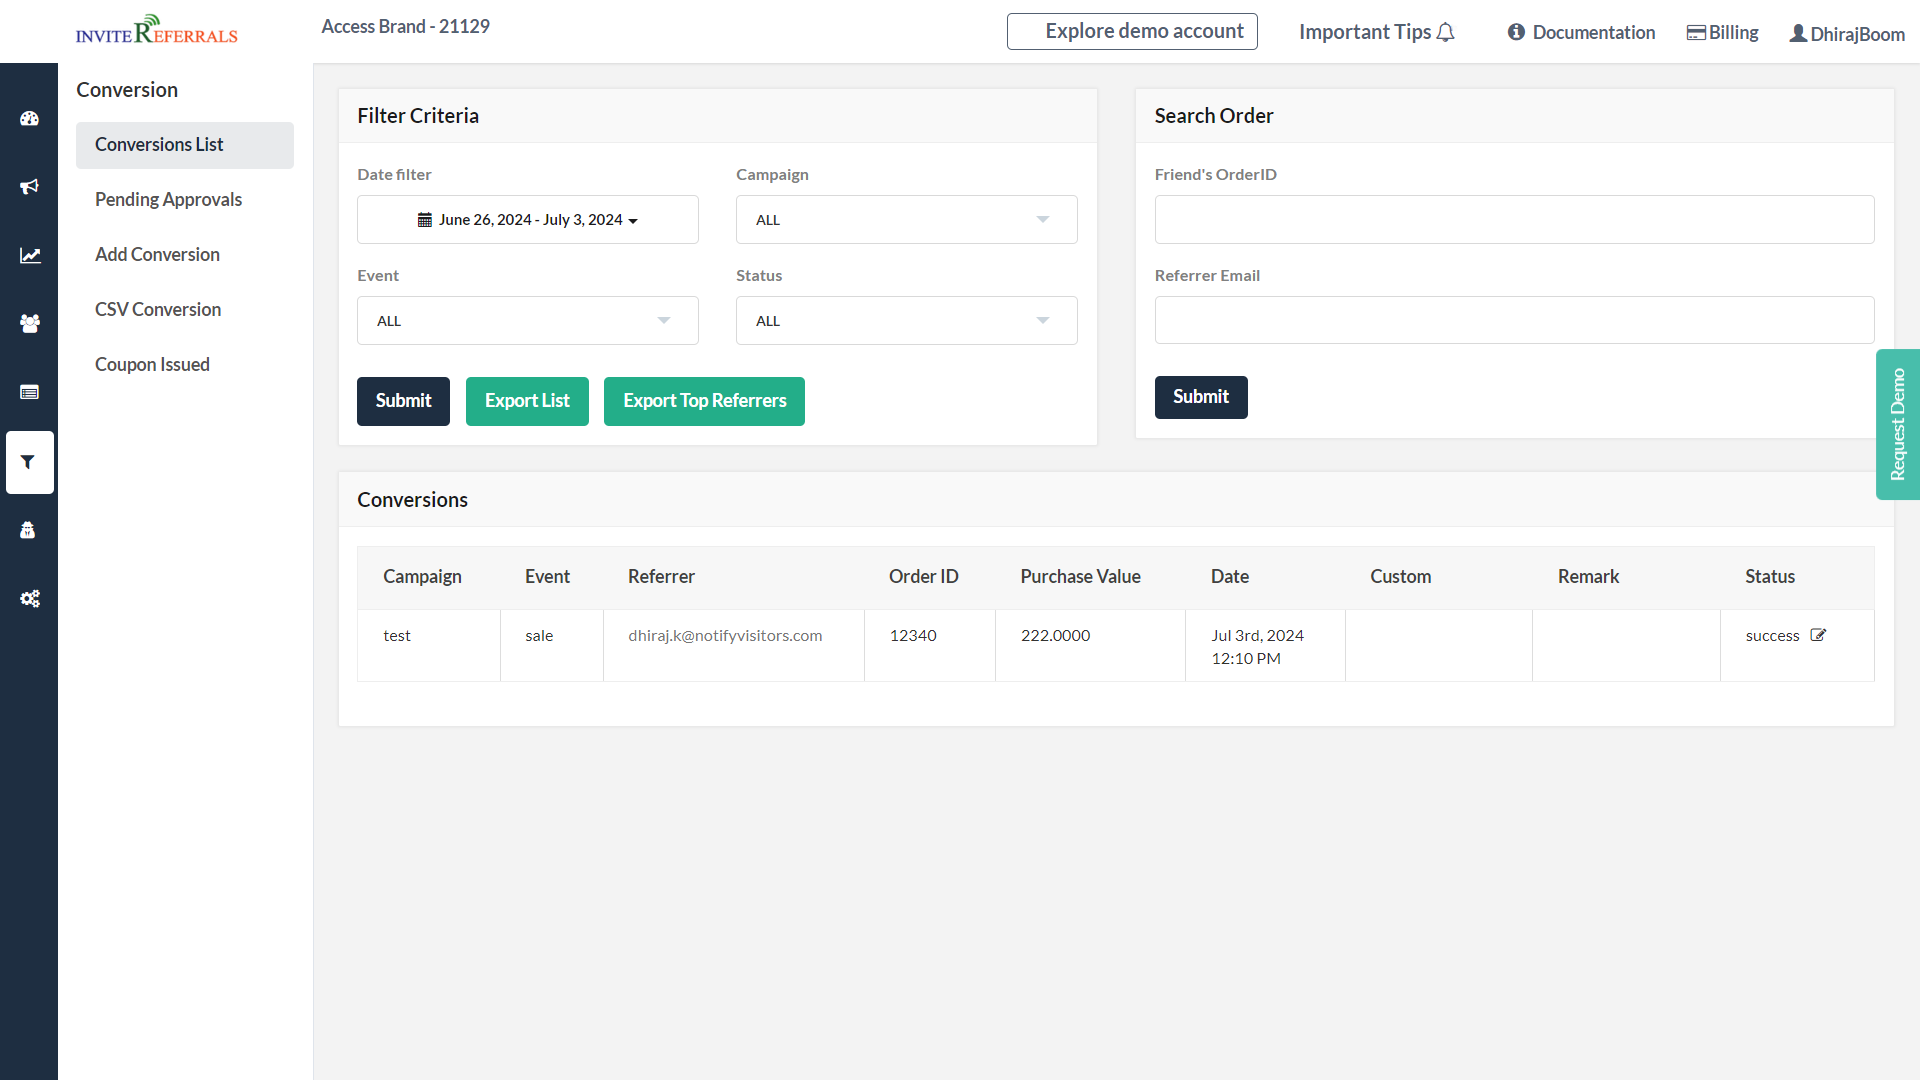
- Finally, to test or confirm whether the ‘code’ is tracking conversions as intended, simply place an order via the ‘referral link’. Then, check for the conversion in the panel’s ‘conversion section’.
Updated 12 months ago
